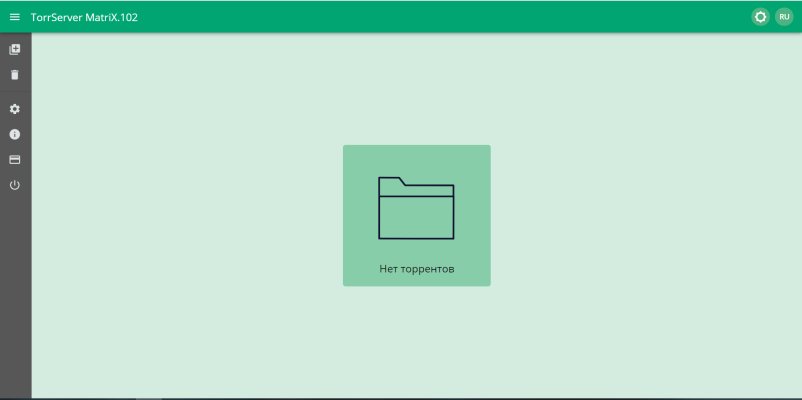
TorrServer: Unveiling the Elegance of Torrent Hosting
TorrServer
It is an incredible server program that enables you to effortlessly stream media files obtained from torrent networks. Whether you’re using Linux, Windows, or macOS, this versatile program can be installed on any compatible device. By utilizing the power of the BitTorrent protocol, it efficiently downloads files from torrent networks and grants you access to them via an HTTP server.
The beauty of TorrServer lies in its ability to let you enjoy media files without the need to fully download them onto your device.
It’s like having a virtual media library at your fingertips!
Moreover, it goes the extra mile by automatically scanning and adding new torrent files to your library. This nifty feature makes it an indispensable tool for effortlessly organizing and streaming your favorite media content.

TorrServer features
It includes:
- Support for many popular torrent clients, including uTorrent, qBittorrent, Transmission and others
- Stream media files, including videos, audio, and images, without having to fully download them to your device.
- Automatically scan and add new torrent files to the library.
- HTTP protocol support for accessing media files through a web browser or any device that supports HTTP.
- Possibility to adjust the quality of the stream depending on the speed of the Internet connection.
- Built-in player for playing media files on the server.
- SSL support for secure server access.
- Possibility of remote server management via API or web interface.
- Support for subtitles and multi-channel audio.
It is also possible to use TorrServer as a local server for storing and streaming media files on your home network.
How to install?
To create a virtual server with TorrServer, just buy any basic virtual hosting plan with Ubuntu OS and, after connecting through the Putty program, enter the following command in its console;
mkdir -p ${dir}
architecture=””
case $(uname -m) in
i386) architecture=”386″ ;;
i686) architecture=”386″ ;;
x86_64) architecture=”amd64″ ;;
arm) dpkg –print-architecture | grep -q “arm64″ && architecture=”arm64″ || architecture=”arm7″ ;;
esac
url=$(curl –silent https://github.com/YouROK/TorrServer/releases/ | grep TorrServer-linux-${architecture} | head -1 | awk -F \” ‘{print $2}’)
wget -O ${dir}/torrserver https://github.com/${url}
chmod +x ${dir}/torrserver
cat << EOF > /etc/systemd/system/torrserver.service
[Unit]
Description = TorrServer
After = network.target
[Service]
User = root
Group = root
#Environment=”GODEBUG=madvdontneed=1″
Type = simple
NonBlocking = true
ExecStart = ${dir}/torrserver -d ${dir} -p 8090
ExecReload = /bin/kill -HUP \${MAINPID}
ExecStop = /bin/kill -INT \${MAINPID}
TimeoutSec = 30
WorkingDirectory = ${dir}
Restart = on-failure
RestartSec = 5s
#LimitNOFILE = 4096
[Install]
WantedBy = multi-user.target
EOF
systemctl daemon-reload
systemctl start torrserver.service
systemctl enable torrserver.service
echo -e “\nTorrServer Online – installation is complete\n” >/dev/pts
After writing this command, you will be able to connect to your server through its IP address with port 8090 (which can be changed in advance in the code above).
Explore More; Exploring the Dynamic World of LVM in Linux


