Unlocking Hyper-V on Windows 11 and Windows Server 2022

HYPER V
Hyper-V is a powerful tool that lets you create and manage virtual machines on your Windows computer. With Hyper-V, you can run multiple operating systems simultaneously, making it easier to test software, develop applications, or even set up separate environments for different tasks. It works by creating a virtualized environment where these operating systems can run independently, offering flexibility and efficiency in managing various computing needs on a single device.
VMware and Hyper-V are two of the most popular hypervisors used by organizations. Hyper-V, introduced by Microsoft in Windows 8 Professional and Windows Server 2008, continues to be available in the latest versions of Windows, including Windows 11 and Windows Server 2022. The good news is that enabling Hyper-V hasn’t undergone any major changes. You can still enable it using either the graphical user interface (GUI) or PowerShell.
In this article, I’ll walk you through the steps to enable Hyper-V on both Windows 11 and Windows 2022.
Enable Hyper-V client in Windows 11
Hyper-V, when installed on Windows machines, including Windows 11 and earlier versions, is referred to as a Hyper-V on the client machine. To enable Hyper-V, follow these steps:
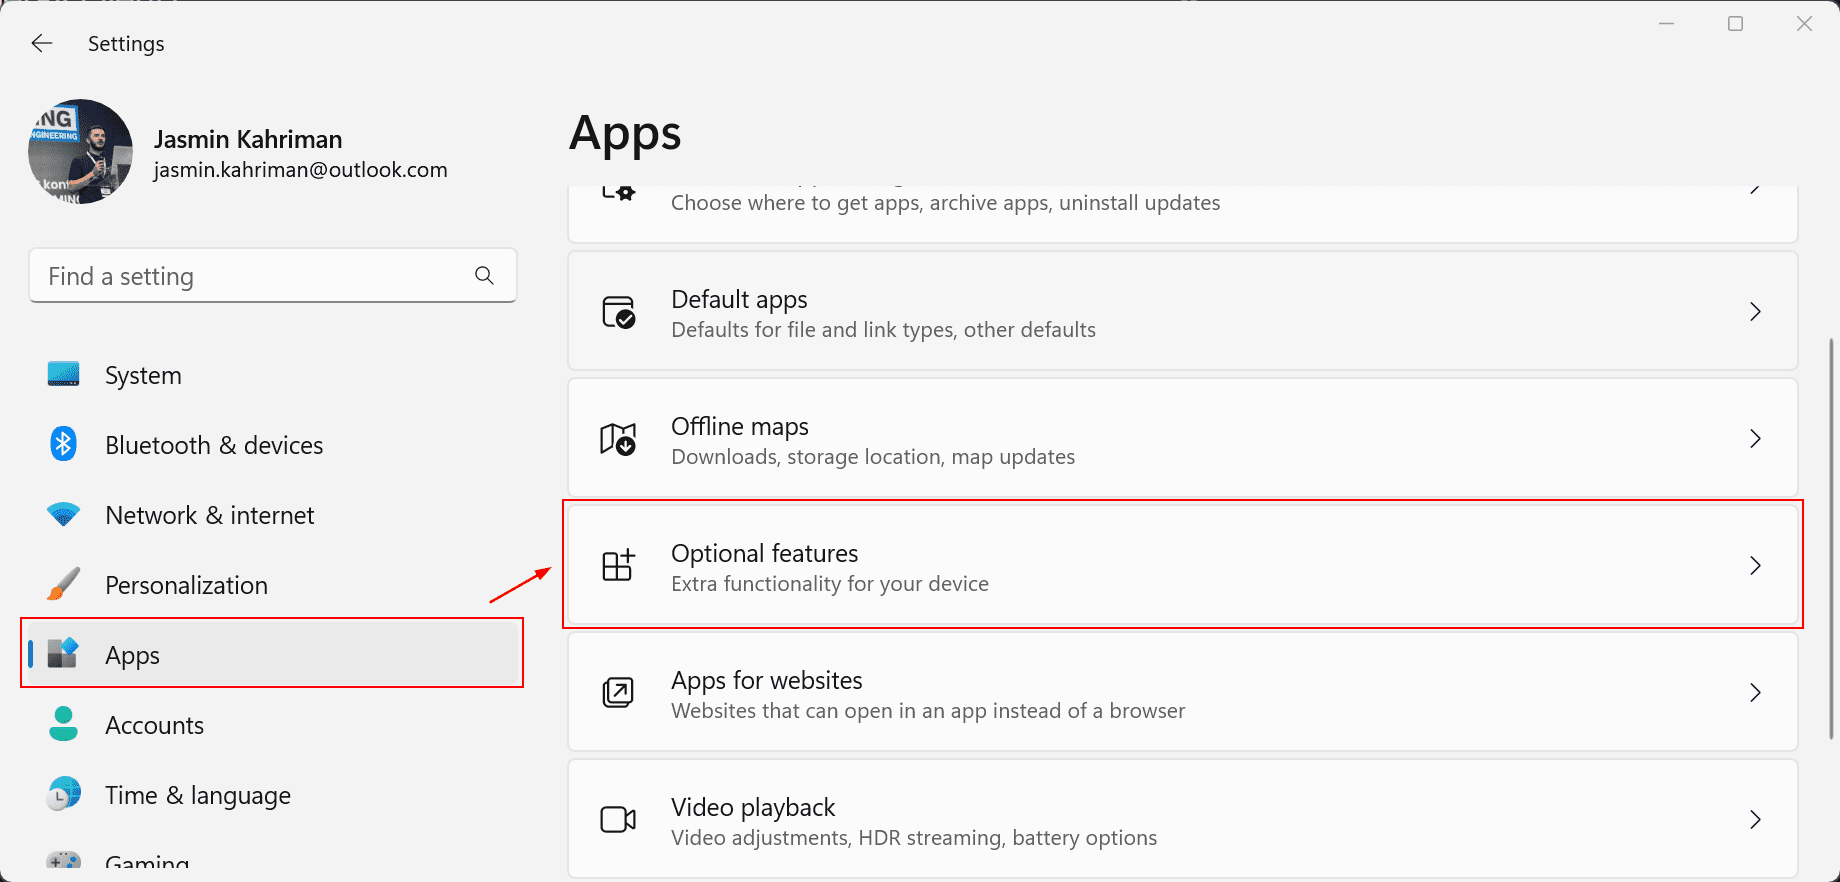
- Press the Windows logo key + I simultaneously to open the Settings menu
- Click on Apps and then click Optional features.
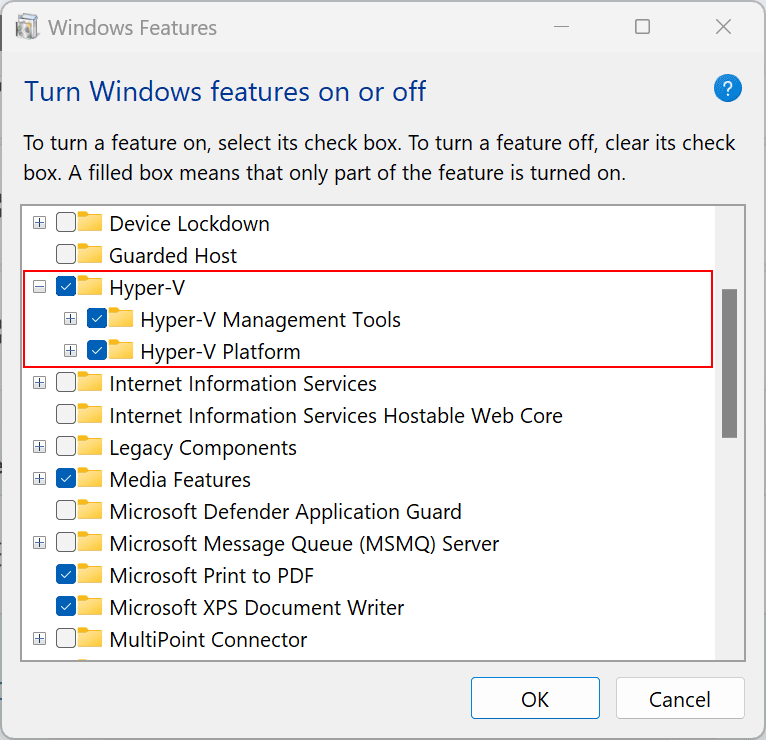
3. Scroll down to Related settings and click on More Windows features.
4. Select Hyper-V and then click OK.
5. Once completed, click Restart now.
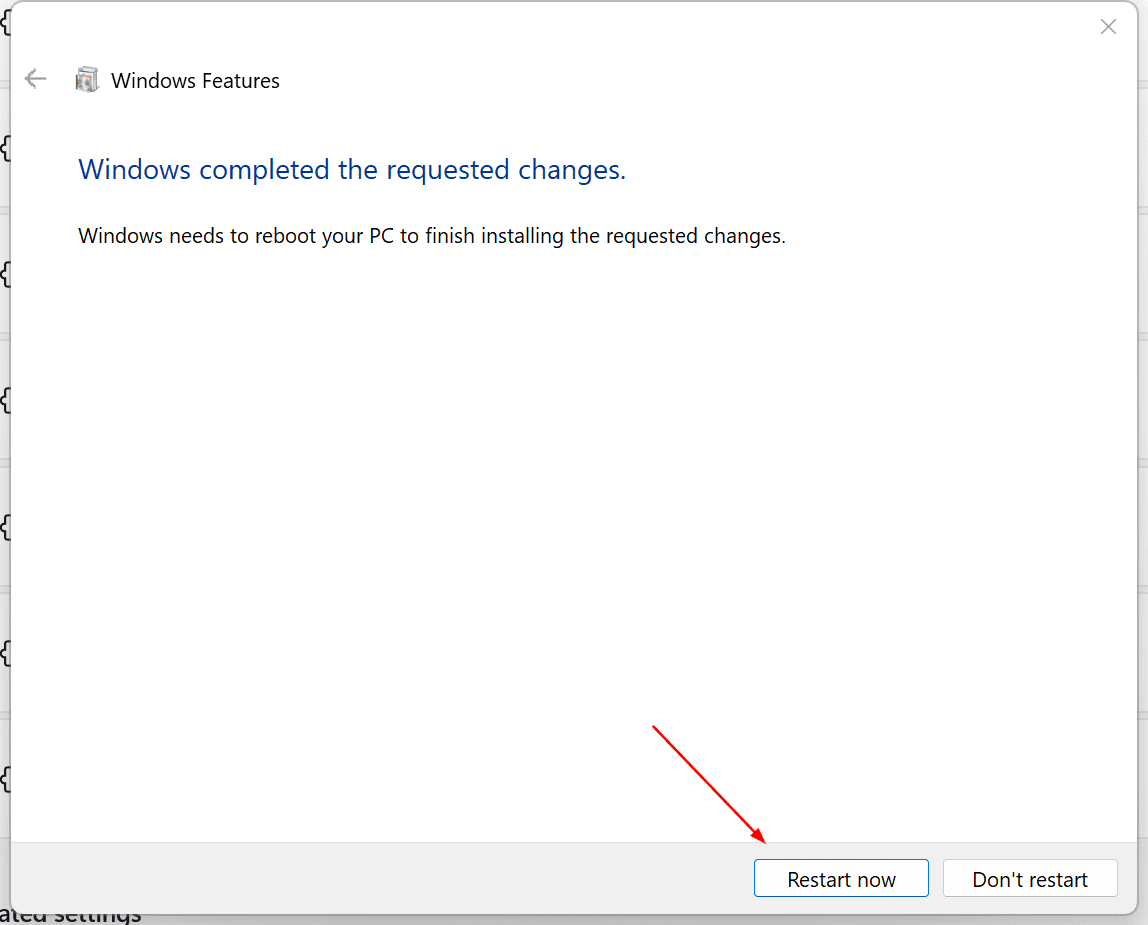
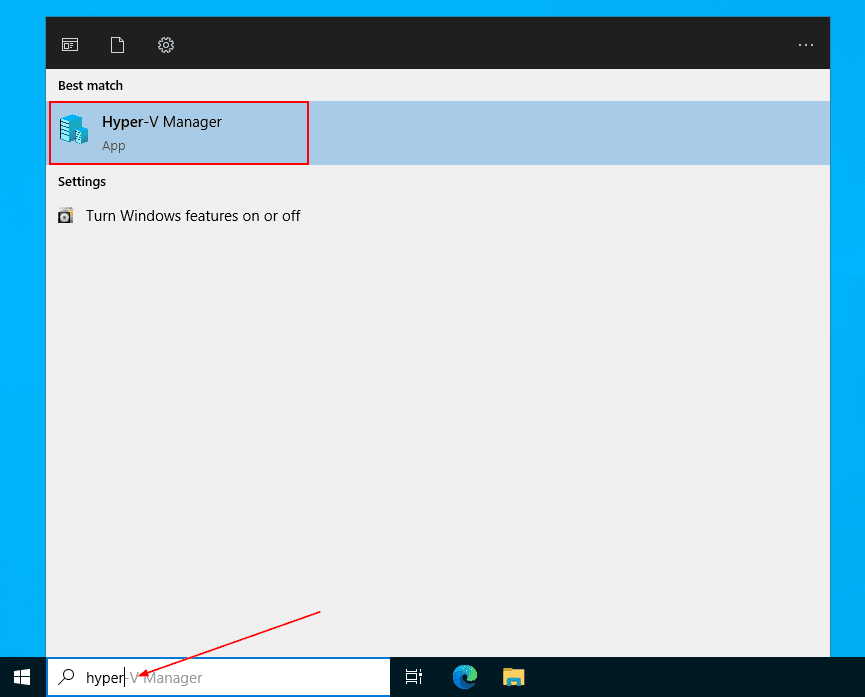
You’ve successfully activated Hyper-V in Windows 11. After your computer restarts, simply go to the Start Menu, search for Hyper-V, and run it.
Enable Hyper-V in Windows Server 2022
Starting from Windows Server 2022, Microsoft has made a change in the way Hyper-V is released. Unlike previous versions, Hyper-V is no longer available as a standalone product. However, you can still install it as a server role on your Windows Server. Let me guide you through the process.
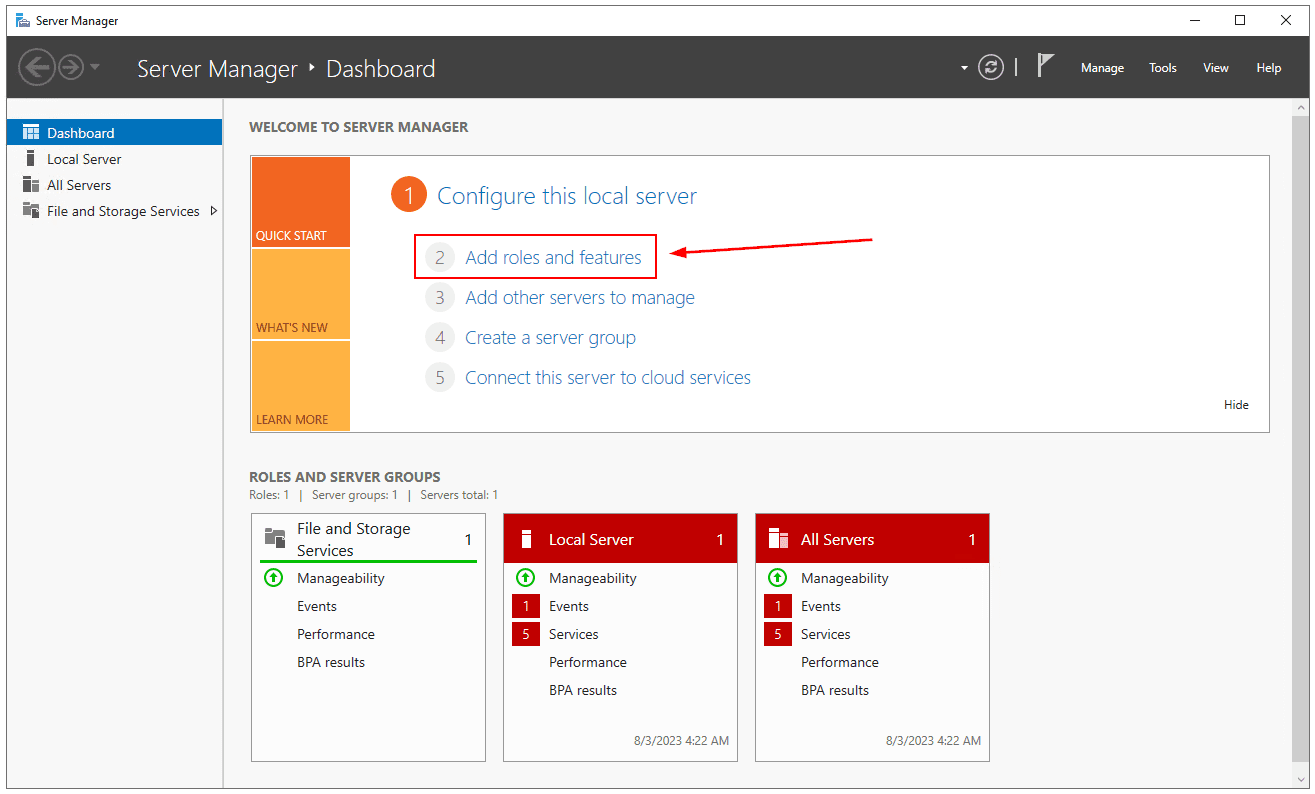
- Open Server Manager.
- Click on Add roles and features.
3. Under Before you begin, click Next.
4. Under Select installation type, click Next.
5. Under Server selection, click Next.
6. Under Server roles, select Hyper-V and then click Add Features. Click Next.

7. Under Select features, click Next
8. Under Hyper-V, click Next
9. Under Create Virtual Switches, select network adapter/s and click Next
10. Under Virtual Machine Migration, click Next
11. Under Default Stores, click Next
12. Under Confirm installation selections, select Restart the destination server automatically if required and then click Install.
13. You successfully enabled Hyper-V in Windows Server 2022. click on the Start Menu, and search for Hyper-V to run it.
To take your virtualization experience to the next level, explore AMAZINGRDP’s comprehensive range of services. Whether you need robust VPS hosting, high-performance dedicated servers, or reliable RDP solutions, AMAZINGRDP provides the infrastructure and support needed to optimize your virtual environments and ensure seamless performance.
Explore More, Installing npm and Node.js on Ubuntu Server
For more updates follow us on Meta, X,Instagram .
READ OUR BLOGS .