How to Install Git on Windows: A Step-by-Step Guide
Git is a powerful version control system that is widely used in software development and beyond. If you’re a Windows user looking to get started with Git, this step-by-step guide will walk you through the installation process.
Step 1: Download Git for Windows
- Visit the official Git website: (https://git-scm.com/)
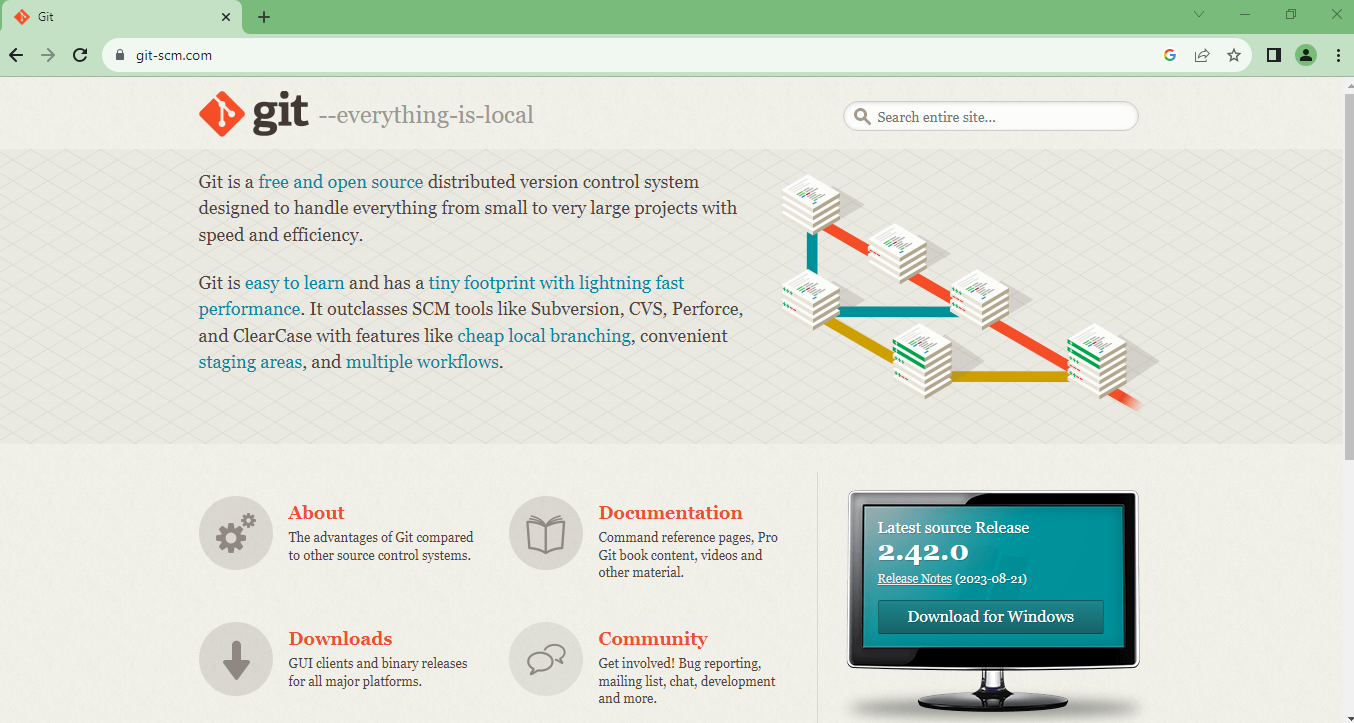
- Click on the “Download” button to go to the download page.
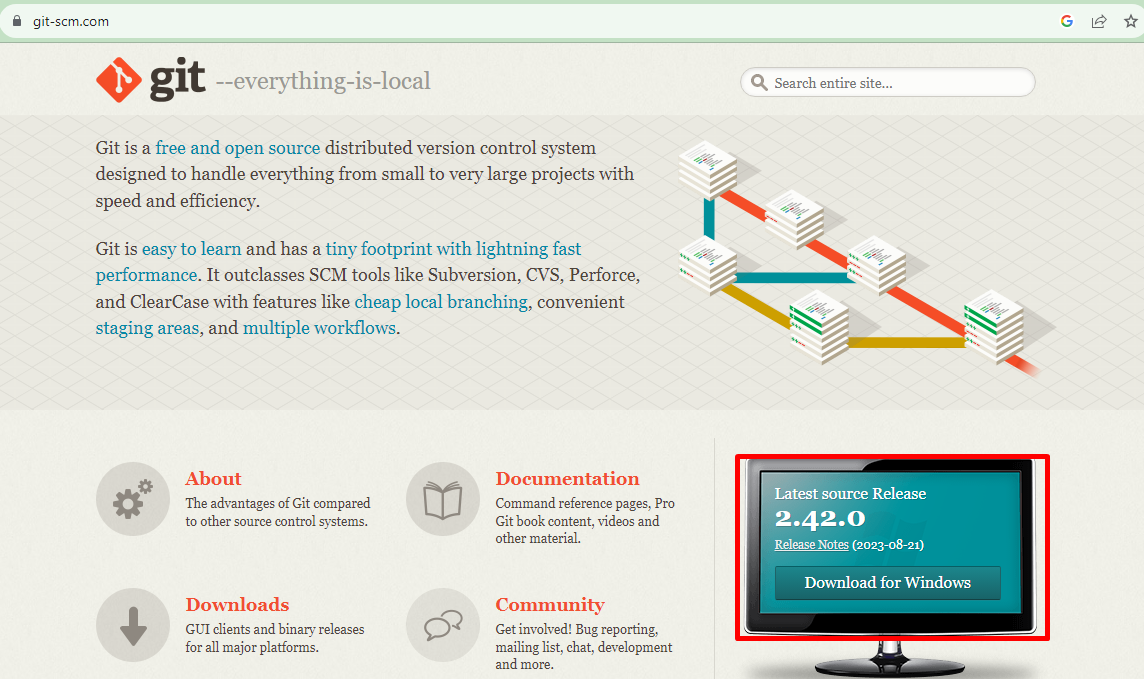
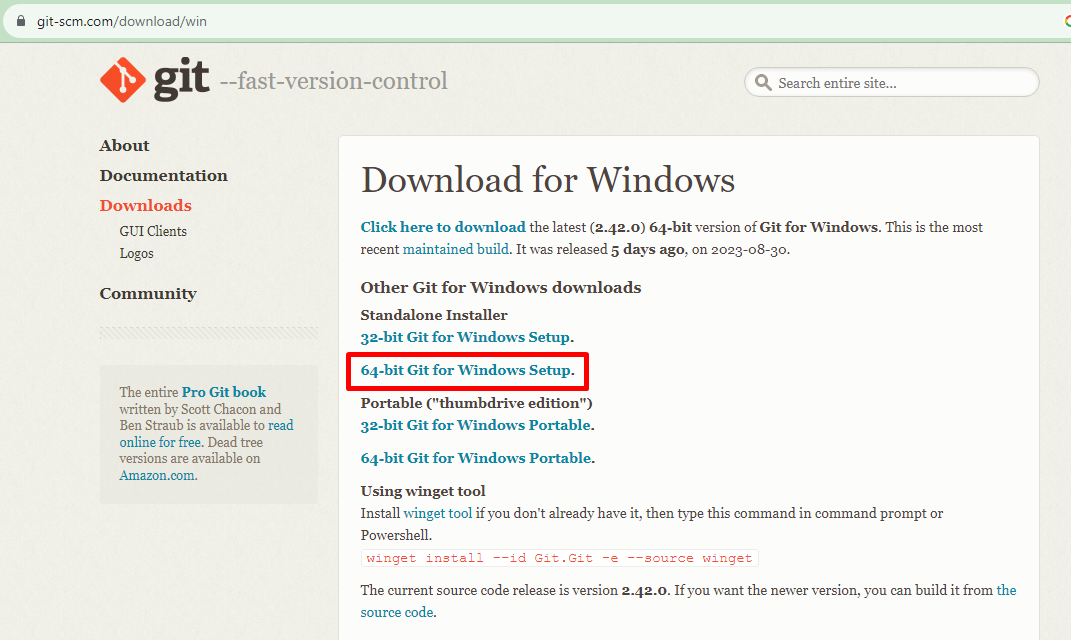
- On the download page, click the Windows icon to download the Git for Windows installer.
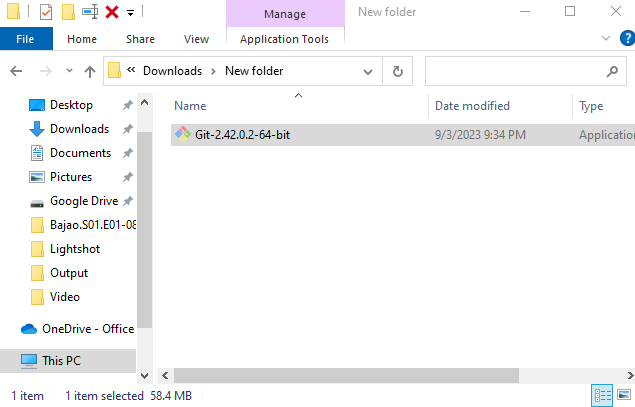
Step 2: Run the Installer
- Locate the downloaded installer file (typically in your Downloads folder) and double-click on it to run the installer.
- You may be prompted by the User Account Control (UAC) to allow the installer to make changes to your device. Click “Yes” to proceed.
Step 3: Choose Installation Options
- The installer will welcome you to the Git Setup Wizard. Click “Next” to continue.
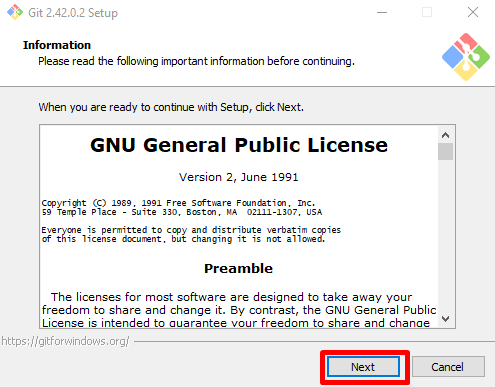
- Read the GNU General Public License and click “Next” to accept the terms and continue.
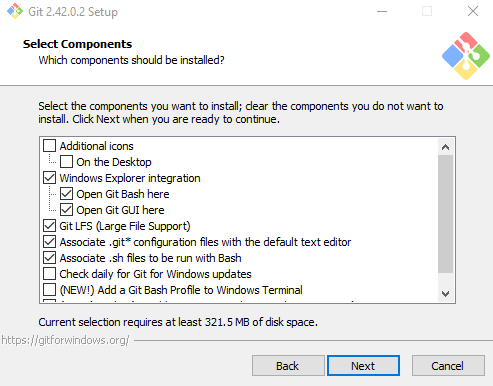
- Select the components you want to install. It’s recommended to leave all options checked unless you have a specific reason to exclude any. Click “Next.”
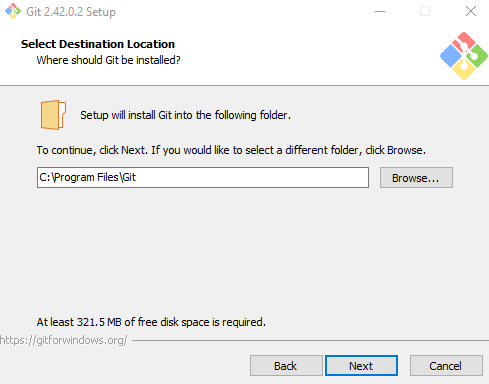
- Choose the installation location for Git. The default location is usually suitable for most users. Click “Next” to proceed.
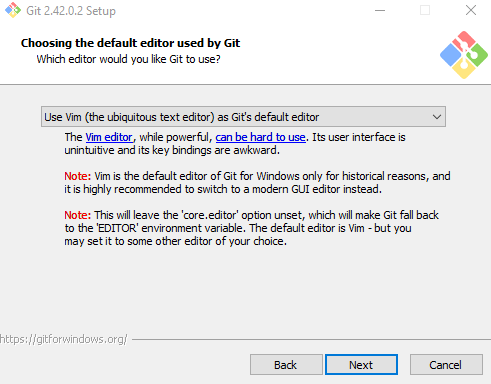
- Select the default editor for Git. The default is “Use the Nano editor by default,” but you can choose a different text editor if you prefer. Click “Next.”
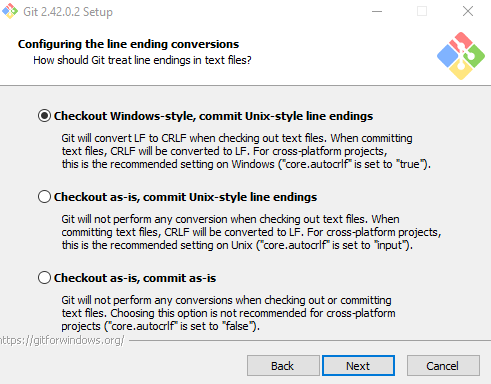
- Choose the default behavior for line endings in text files. The default option, “Checkout Windows-style, commit Unix-style line endings,” is suitable for most users. Click “Next.”
Step 4: Adjust Your PATH Environment
- Select the option “Use Git from the Windows Command Prompt” if you want to use Git from the Command Prompt or PowerShell. This adds Git to your system’s PATH environment variable, allowing you to run Git commands from any command prompt window. Click “Next.”

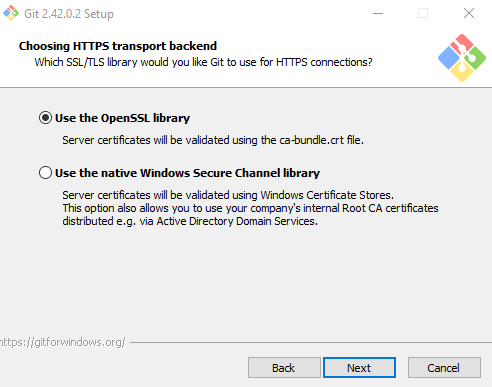
- Choose the HTTPS transport backend. The default option, “Use the OpenSSL library,” is recommended. Click “Next.”
Step 5: Configure Extra Options
- Enable file system caching by selecting the “Enable Git Credential Manager” option. This makes it easier to work with remote repositories. Click “Next.”

Step 6: Start the Installation
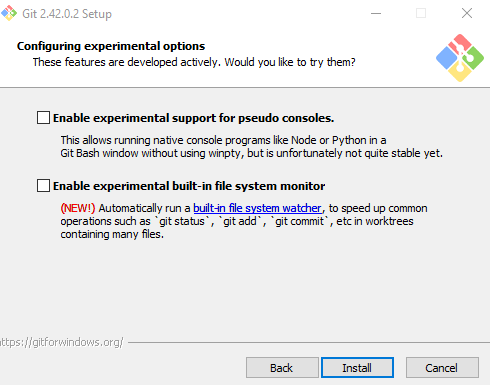
- Click “Install” to start the installation process.
- Once the installation is complete, click “Finish” to exit the Git Setup Wizard.
Step 7: Verify the Installation
- Open a Command Prompt or PowerShell window.
- Type the following command and press Enter:
- git –version
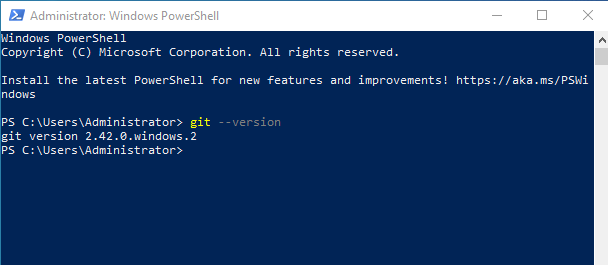
This command should display the installed Git version, confirming that Git is now successfully installed on your Windows computer.
Congratulations! You’ve successfully installed Git on your Windows machine, and you’re ready to start using Git for version control in your projects.
I hope this guide helps you install Git on Windows effectively. If you have any questions or encounter any issues during the installation process, feel free to ask for assistance.
Install GitHub CLI on Windows (F.A.Q)
Why do I need Git on Windows?
Git is a widely-used version control system that allows you to track changes in your files and collaborate with others efficiently. Installing Git on Windows enables you to work with Git repositories, which is essential for software development, project management, and other collaborative tasks.
Is Git for Windows the same as Git for Linux or macOS?
The core functionality of Git remains the same across different operating systems. However, Git for Windows is tailored to work seamlessly on Windows environments. It provides a Git Bash terminal for running Git commands, integrates with Windows tools and services, and includes helpful utilities for managing Git on Windows.
What is the purpose of adjusting line endings during Git installation?
During Git installation on Windows, you are asked to choose the default behavior for line endings in text files. This choice affects how Git handles line endings when you commit changes. The default option, “Checkout Windows-style, commit Unix-style line endings,” is suitable for most Windows users. It ensures that line endings are correctly handled when collaborating with users on other platforms, like Linux or macOS.
Can I use Git from the Windows Command Prompt after installation?
Yes, you can use Git from the Windows Command Prompt or PowerShell after installing Git for Windows. During installation, you have the option to add Git to your system’s PATH environment variable, making Git commands accessible from any command prompt window. This allows you to work with Git using the familiar Windows command-line interface.