
Get Help Fast: Ticketing with WHMCS for AmazingRDP.

Are you utilizing AmazingRDP services and require help or have a question? By creating a support ticket via the WHMCS client area, you can easily and effectively reach out to the AmazingRDP support team. This guide will take you through the straightforward process of creating a ticket, guaranteeing that your concerns are promptly attended to.
Ticketing for AMAZINGRDP
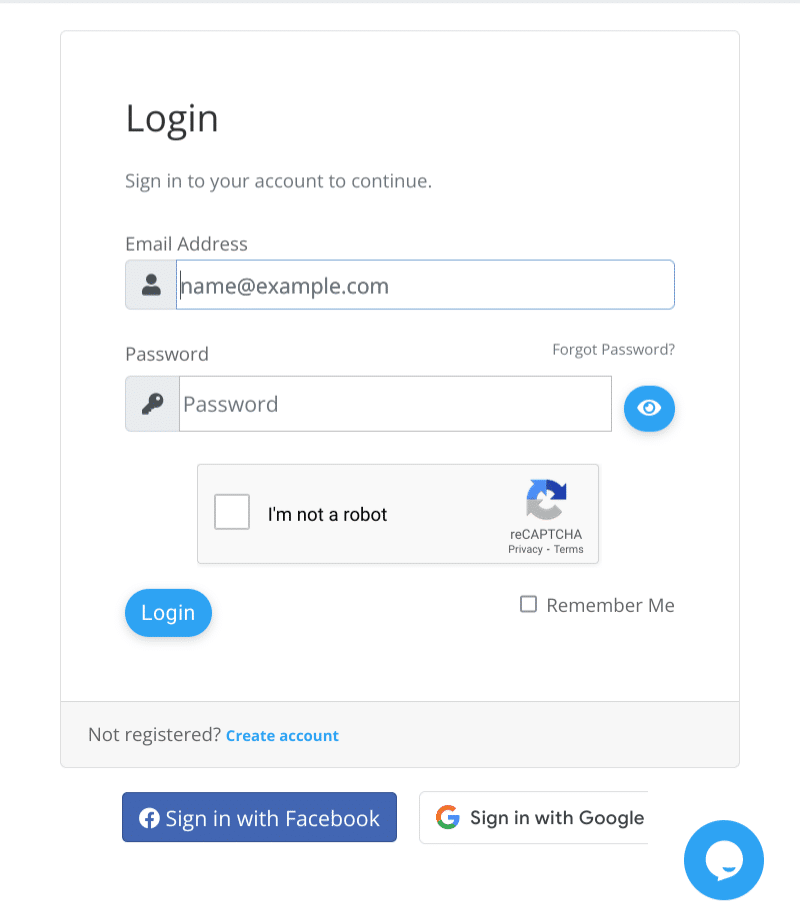
Step 1: Log in to WHMCS Client Area
To begin, log into your WHMCS client area with your credentials. After successfully logging in, head straight to the support section. Here, you’ll find the gateway to seamless assistance and prompt issue resolution. By navigating to the support section, you empower yourself to take control of your experience with AmazingRDP. This simple yet crucial step ensures that you are just a few clicks away from accessing a realm of support and guidance. The user-friendly interface of WHMCS makes this process not only convenient but also a doorway to a world where your queries find swift and effective solutions.
Step 2: Locate the “Recent Support Tickets” Option
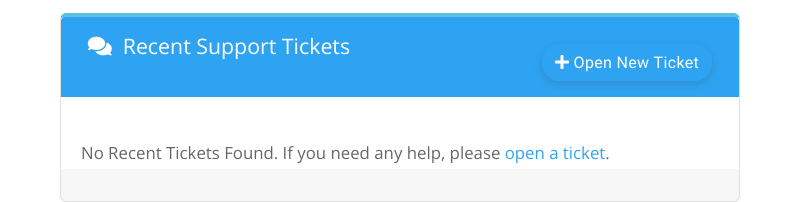
This is where you’ll initiate the process of creating a support ticket.
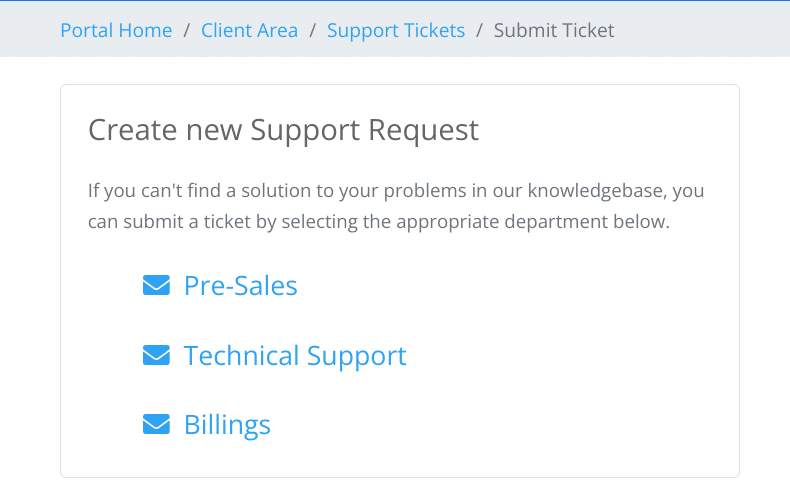
Step 3: Select the Department
Opt for the right department that suits your query within AmazingRDP’s expansive support system. Distinguish between the various departments designed to cater to your specific needs—whether it’s technical support, billing inquiries, or general questions, there’s a tailored solution awaiting you. Your role is pivotal here; actively choose the department aligning with your concern. This strategic decision ensures that your query swiftly reaches the hands of experts well-versed in addressing the intricacies of your particular issue. By taking this proactive step, you not only expedite the resolution process but also guarantee that your inquiry lands on the desks of those equipped to provide the most accurate and effective assistance.
Step 4: Fill in Ticket Details
Provide detailed information in the ticket form. Include a relevant subject that briefly summarizes your issue. In the message body, explain your problem or inquiry clearly, providing any necessary details or screenshots.
Step 5: Priority and Attachment
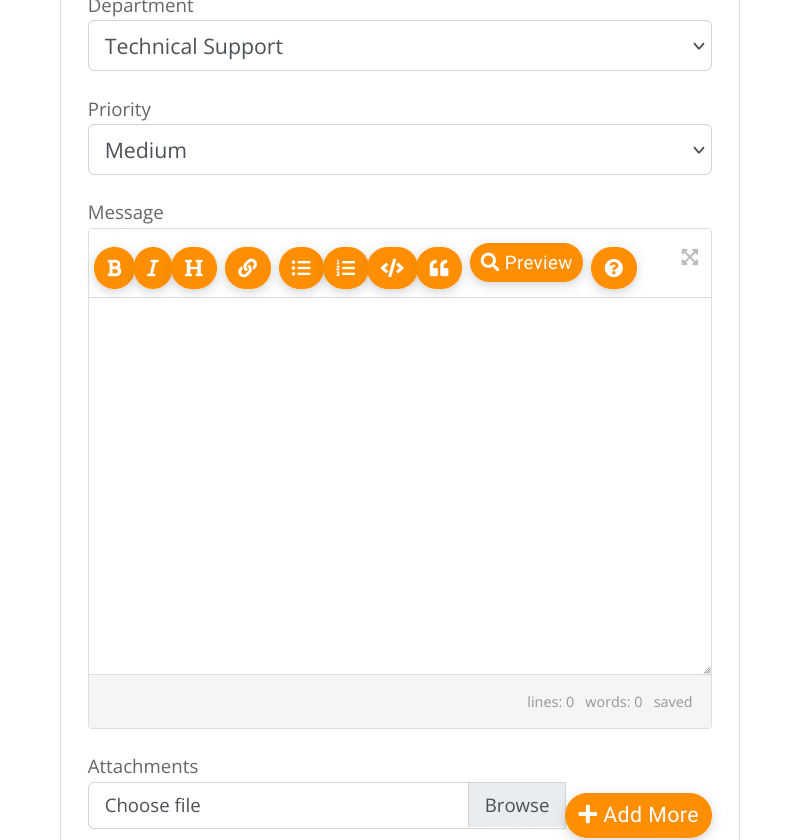
Upon selecting the department aligning with your concern, transition to the next crucial step by choosing the priority level for your ticket. Simultaneously, enhance the support team’s understanding and efficiency by attaching any pertinent files or screenshots. These visual aids serve as valuable insights, expediting the process of comprehending and ultimately resolving your issue. In this seamless transition from prioritizing your ticket to providing supplementary materials, you actively contribute to a more comprehensive and efficient communication process. This ensures that your concerns are not only recognized promptly but also addressed with precision and efficacy by the support team at AmazingRDP.
Step 6: Submit the Ticket
Once you’ve filled in all the necessary details, review your ticket to ensure accuracy. Then, hit the “Submit” or similar button to send your request to the AmazingRDP support team.
Step 7: Ticket Confirmation
After submitting the ticket, you should receive a confirmation message or email. This will include a unique ticket ID, which you can use for reference in any future communication regarding the issue.
Step 8: Monitor and Respond
Keep an eye on your email for updates on your ticket. The support team will likely respond with information or solutions. Make sure to respond promptly if they request additional details or clarification.
Stay Connected with us on Meta, X, Instagram .
EXPLORE OUR BLOGS .