Install Apache2 and Host Your First Website

Apache 2
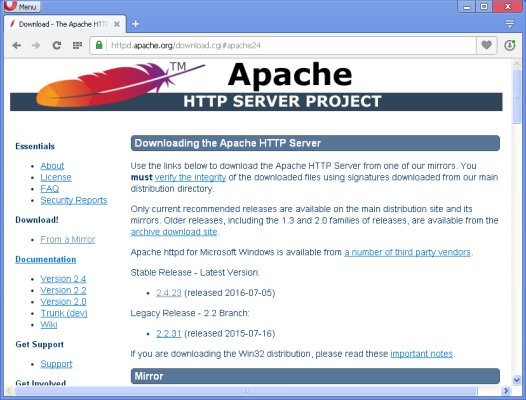
It is also known as Apache HTTP Server, is an exceptional web server that offers unparalleled freedom and flexibility. It is widely recognized as one of the leading web servers globally, making it the ideal choice for hosting websites.
Whether you are using Linux, Windows, macOS, or any other operating system, it seamlessly integrates and delivers outstanding performance.
With Apache2, you have the power to support a wide range of protocols, including HTTP, HTTPS, FTP, and more. This versatility ensures that your website can cater to diverse user needs and preferences.
Additionally, it excels in handling dynamic content such as PHP, Python, Perl, and other scripting languages. This capability allows you to create dynamic and interactive web experiences for your visitors. What sets Apache2 apart is its extensive collection of modules and extensions.
These invaluable resources empower you to customize the server according to your specific requirements and tasks. Whether you need enhanced security, advanced caching mechanisms, or specialized functionalities, it has got you covered.
How to install?

Explore More; Quantifying Network Speed on the Linux Operating
Let’s write the installation command:
apt-get install apache2
For centOS, use the command “yum install httpd” (second name for Apache2).
Before installing Apache2, make sure that nginx is not installed on the server!
Now let’s move on to the process of setting up the server.
How to configure correctly?

Go to sFTP at /etc/apache2/sites-available and create a file server_name.conf (the name can be anything) containing the following text with your data:
<VirtualHost *:80>
ServerName aeza.net # Specify the site domain
ServerAdmin admin@aeza.net # Your email
DocumentRoot /var/www/html # Path to the folder with the site
ErrorLog ${APACHE_LOG_DIR}/error.log
CustomLog ${APACHE_LOG_DIR} /access.log combined
</VirtualHost>
To launch the site, enter the command:
a2ensite server_name.conf //specify the file name of your site
To disable the site, use the following command:
a2dissite server_name.conf //specify the file name of your site
To reboot the following command:
service apache2 reload
Connecting PHP to Apache2
To use php files, install a special package:
apt-get install libapache2-mod-php -y
Restart Apache2:
service apache2 reload
Enabling rewrite (rewriting files)
Without this setting, a significant part of CMS sites may not work.
Let’s write the settings for the .htaccess file:
a2enmod rewrite
Restart Apache2:
service apache2 reload
Enable SSL (encryption protocol)
This is an optional item that increases the credibility of your site.
Let’s enable the SSL encryption module:
a2enmod ssl
Let’s go to sFTP at /etc/apache2/sites-available and create a new config site_name-ssl.conf:
<VirtualHost *:443>
ServerName aeza.net # Specify the site domain
ServerAdmin admin@aeza.net # Your email
DocumentRoot /var/www/html # Path to the folder with the site
SSLEngine on
SSLCertificateFile /path/to/your_domain_name.pem # Path to public certificate
SSLCertificateKeyFile /path/to/your_private.key # Path to the private certificate
ErrorLog ${APACHE_LOG_DIR}/error.log
CustomLog ${APACHE_LOG_DIR}/access.log combined </VirtualHost>
Restart Apache2:
service apache2 reload

Set Up Apache2 on a High-Performance VPS with AmazingRDP
Installing Apache2 is the first step toward hosting a powerful, secure, and fast website. However, the server environment you choose plays a crucial role in its performance. That’s where AmazingRDP comes in—offering high-speed, secure, and optimized RDP and VPS solutions tailored for different needs.
Why Host Apache2 on AmazingRDP’s VPS or Dedicated Servers?
- USA, Europe, and Asia RDP Solutions – Get blazing-fast server speeds across multiple global locations, including USA, UK, Canada, Germany, Singapore, India, and more.
- Dedicated & Private RDP – Enjoy full control, admin access, and dedicated resources for a smooth Apache2 hosting experience.
- High-Performance Dedicated Servers – Choose from AMD Dedicated Servers, GPU Dedicated Servers, and Rendering RDP for heavy workloads.
- Streaming & Encoding RDP – Optimize Apache2 for media streaming, video encoding, and high-traffic web applications.
- Forex & Botting RDP – Run automated trading and bot applications with low-latency, high-speed connectivity.
- Residential VPS & RDP – Get ISP-assigned IPs for anonymity, SEO tasks, and smooth browsing.
- Cheap & Affordable RDP – Budget-friendly RDP solutions without compromising on speed and security.
Explore More; Easy Guide: Installing Samba on Ubuntu
Stay Connected on Meta , X, Instagram .
READ OUR BLOGS .
