Getting Started with GitHub CLI on Windows
GitHub CLI (Command Line Interface) is a powerful tool that allows you to interact with GitHub repositories and perform various tasks using the command line. In this guide, we’ll walk you through the process of installing GitHub CLI on Windows and getting started with some basic commands.
Installing GitHub CLI on Windows
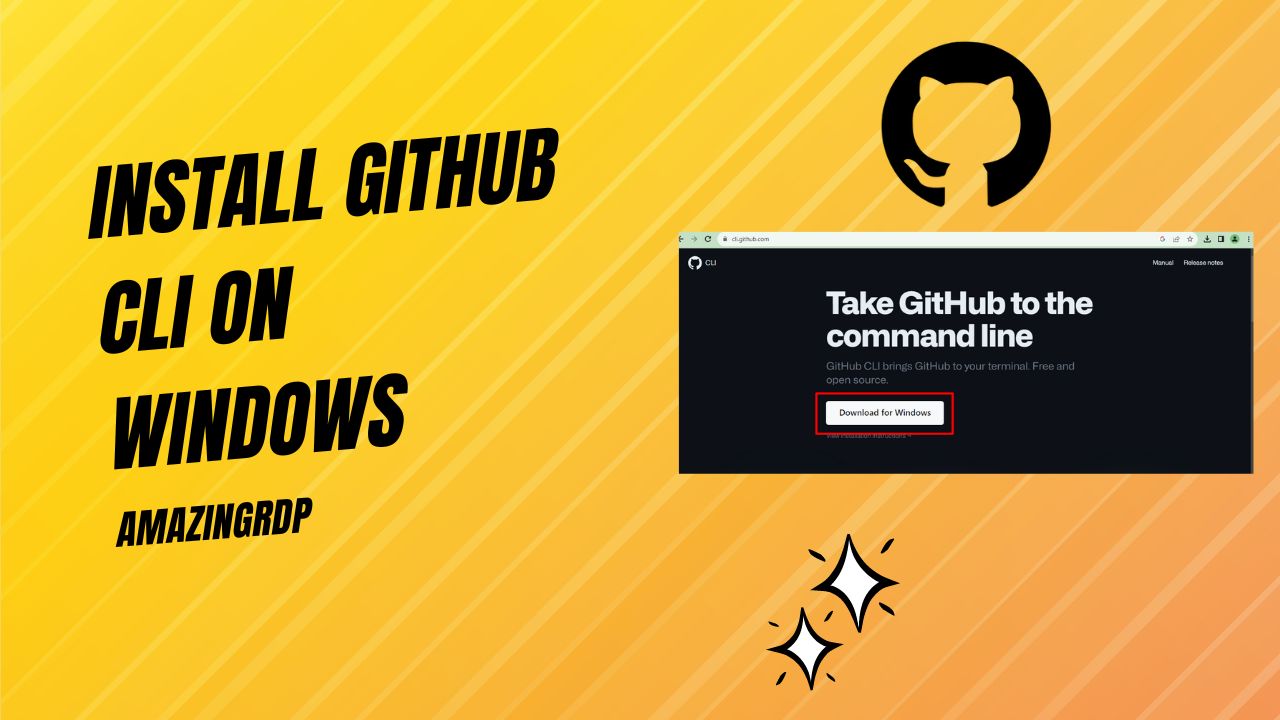
Step 1: Download GitHub CLI for Windows
- Visit the official GitHub CLI releases page at (https://cli.github.com/).
-

- Click on the Downloads button to Download the setup file..
Step 2: Extract and Install GitHub CLI
- Open the folder where you extracted the files.
- Find and run the `gh.exe` executable. This will start the GitHub CLI installation process.

- Follow the on-screen instructions to complete the installation.

- To verify that GitHub CLI has been installed successfully, open your Command Prompt or PowerShell window and type `gh –version`. You should see the GitHub CLI version you installed.

Configuring GitHub CLI
Before you can start using GitHub CLI, you need to authenticate with your GitHub account.
Step 1: Login to Your GitHub Account
- In your Command Prompt or PowerShell window, type `gh auth login` and press Enter.
- Follow the prompts to authenticate with your GitHub account. You may need to open a web browser to complete the authentication.
Step 2: Choose Authentication Method
- During the authentication process, you’ll be asked to choose an authentication method. The most common method is to authenticate using a web browser. Follow the prompts to complete this process.
Step 3: Confirm Authentication
- Once authenticated, you’ll receive a success message in your Command Prompt or PowerShell window.
Using GitHub CLI
With GitHub CLI installed and configured, you can now start using it to interact with your GitHub repositories from the command line. Here are some common commands to get you started:
Creating a New Repository:
gh repo create <repository-name>
Cloning a Repository:
gh repo clone <repository-url>
Creating a Pull Request:
gh pr create –base <base-branch> –head <head-branch> –title “Your PR Title”
Viewing Repository Issues:
gh issue list
Viewing Repository Pull Requests:
gh pr list
Switching Between Repositories:
gh repo set -R <repository-name>
Viewing Repository Information:
gh repo view
Logging Out:
gh auth logout
Getting Help:
gh help
These commands are just the beginning. GitHub CLI offers a wide range of capabilities to streamline your interactions with GitHub repositories.
Now that you’re armed with GitHub CLI on your Windows machine, you have a powerful tool at your disposal to simplify your GitHub workflow and enhance your productivity.
Happy coding!
Install GitHub CLI on Windows (F.A.Q)
What is GitHub CLI, and why should I use it?
GitHub CLI is a command-line tool that allows you to interact with GitHub repositories from the command line. It provides a streamlined way to create and manage repositories, issues, pull requests, and more. Using GitHub CLI can enhance your workflow by enabling you to perform Git and GitHub actions efficiently without leaving the terminal.
Is GitHub CLI available for platforms other than Windows?
Yes, GitHub CLI is cross-platform and is available for Windows, macOS, and Linux. You can use it on your preferred operating system to interact with GitHub repositories.
How do I update GitHub CLI to the latest version?
To update GitHub CLI to the latest version, you can download the latest release from the official GitHub CLI releases page and follow the installation instructions. Alternatively, you can use the gh repo update command to update GitHub CLI if you already have it installed.
Can I use GitHub CLI with repositories hosted on other Git platforms?
GitHub CLI is primarily designed for GitHub repositories, but it can also be used with Git repositories hosted on other platforms. You can configure GitHub CLI to work with repositories from providers like GitLab and Bitbucket by adding remote repositories.