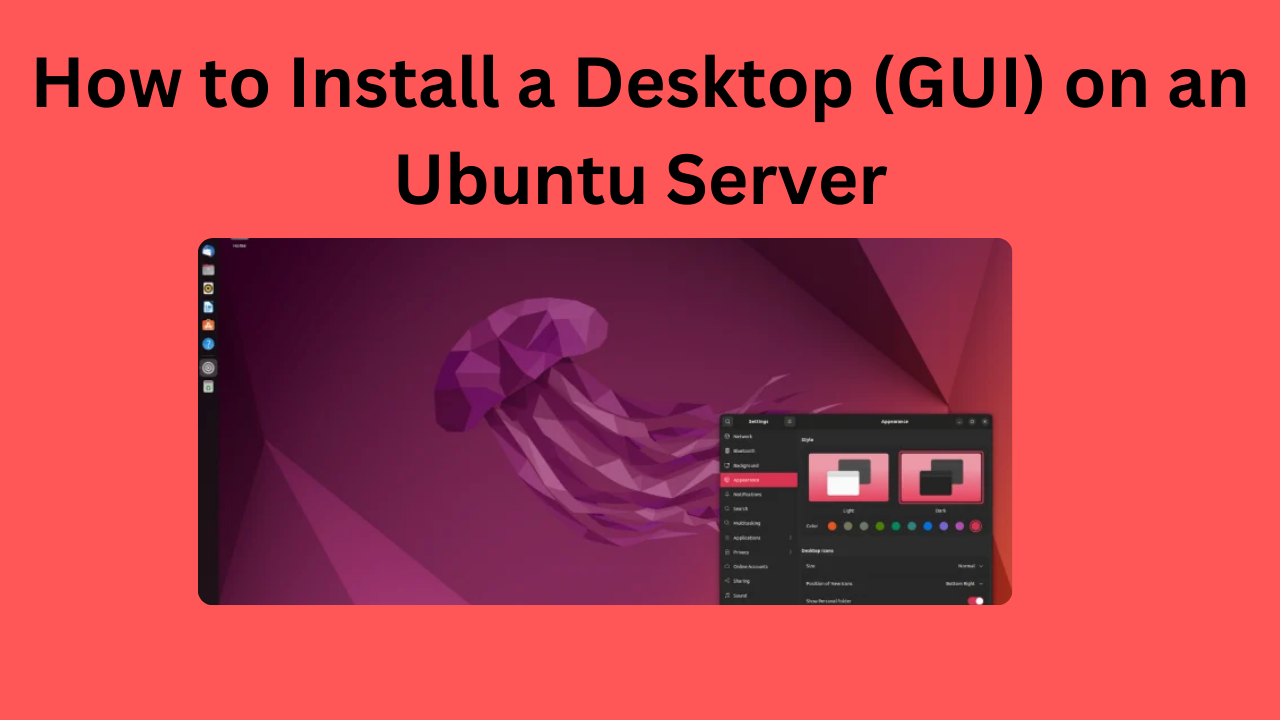
Ubuntu is well-known for its versatility and stability as a Linux operating system, and it’s widely used for both servers and desktop environments. However, when you install a minimal version of Ubuntu (often for server purposes), it typically lacks a graphical user interface (GUI). Fortunately, you can easily add one! Here’s a step-by-step guide on how to install a GUI on Ubuntu.
Why Add a GUI to Ubuntu?
A GUI can be extremely helpful if you’re not familiar with command-line operations or if you simply prefer a visual experience for managing tasks. Although using Ubuntu from the command line is efficient and powerful, a GUI provides the convenience of a desktop environment, making it easier for users to navigate and use the system.
Step 1: Update and Upgrade Your System
Before installing any packages, it’s always best practice to update and upgrade your system to ensure all packages are current. To do this, open the terminal and enter:
This command will refresh your package list and install available updates for existing packages.
Step 2: Install Tasksel (Optional)
Tasksel is a tool that helps you install multiple related packages at once by grouping them into “tasks.” It’s not always pre-installed, so let’s install it first. You can skip this step if you prefer to install packages individually.

Once installed, tasksel can streamline the installation process for various desktop environments.
Step 3: Choose and Install a Desktop Environment
There are several desktop environments available for Ubuntu, each with its unique look, feel, and system requirements. Here’s a brief overview of popular options and how to install each.
1. Installing GNOME (Ubuntu Default)
GNOME is Ubuntu’s default desktop environment. It’s user-friendly and feature-rich, providing a clean and modern look.

2. Installing Xfce (Lightweight Option)
Xfce is a lightweight desktop environment, ideal for systems with limited resources. It’s fast and efficient, though it doesn’t include all the visual bells and whistles of heavier desktop environments.

3. Installing LXDE (Ultra Lightweight)
LXDE is an even lighter option than Xfce. It’s perfect for old or very resource-constrained systems. However, the trade-off is a simpler, more basic visual experience.

4. Installing KDE Plasma (Feature-Rich and Customizable)
KDE Plasma is a highly customizable desktop environment with many features and a polished interface. It’s heavier than Xfce and LXDE but provides more functionality and a sleek appearance.

5. Using Tasksel for Installation (Alternative Method)
If you installed tasksel in Step 2, you can use it to install one of the desktops above by simply running:
This command opens a menu, allowing you to select a desktop environment to install without typing individual commands.
Step 4: Reboot Your System
Once the installation is complete, reboot your system to load the new GUI:
When the system reboots, you should be greeted by the login screen of your newly installed desktop environment.
Step 5: Select the Desktop Environment (Optional)
If you have multiple desktop environments installed, you can choose which one to use from the login screen. Before logging in, select the desktop environment by clicking the gear icon (or the small icon near the password field) and choose your preferred option.
Troubleshooting Common Issues
1. Low Disk Space Warning
If you run into disk space issues, consider uninstalling unused applications or desktop environments. Use the following command to free up space:
2. No Display Manager Found
The display manager controls the login screen for GUI environments. If you see an error related to the display manager, you might need to install it manually:
During installation, you may be prompted to select a display manager. LightDM is a good choice for lightweight environments, while GDM (GNOME Display Manager) is typically used with GNOME.
Conclusion
Adding a GUI to Ubuntu can transform it from a command-line-only system to a more user-friendly, visual environment. Whether you choose GNOME, Xfce, LXDE, or KDE Plasma, each desktop environment has unique strengths to suit various user preferences and system requirements.
Happy Ubuntu computing!

