in this tutorial, we will learn ” How to Delete Temporary Files Manually in Windows 11″. Windows 11 is the latest major release of Microsoft’s Windows NT operating system, released in October 2021. It is a free upgrade to its predecessor, Windows 10, available for any Windows 10 devices that meet the new Windows 11 system requirements. A temporary file is a file created to store information temporarily, either for a program’s intermediate use or for transfer to a permanent file when complete.
Temporary files are stored in the “AppData\Local\Temp” folder. Still, it can take up several GB of your storage. If you need free space, you can easily delete the contents of the folder. Only a few steps are necessary for this.
Deleting Temporary Files Manually
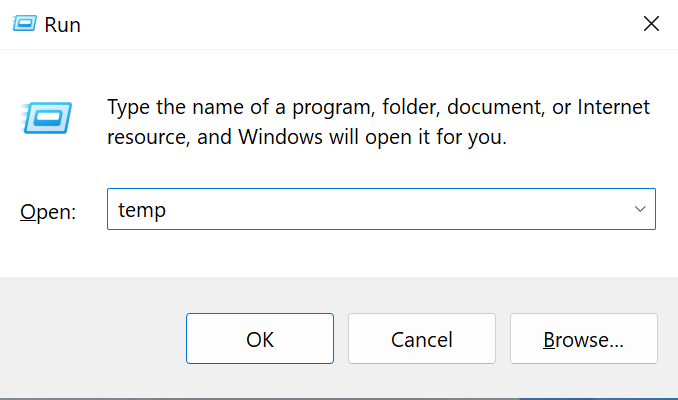
- Press Windows key + R to open the Run command
- Then type “temp” in the search field and press Enter button.
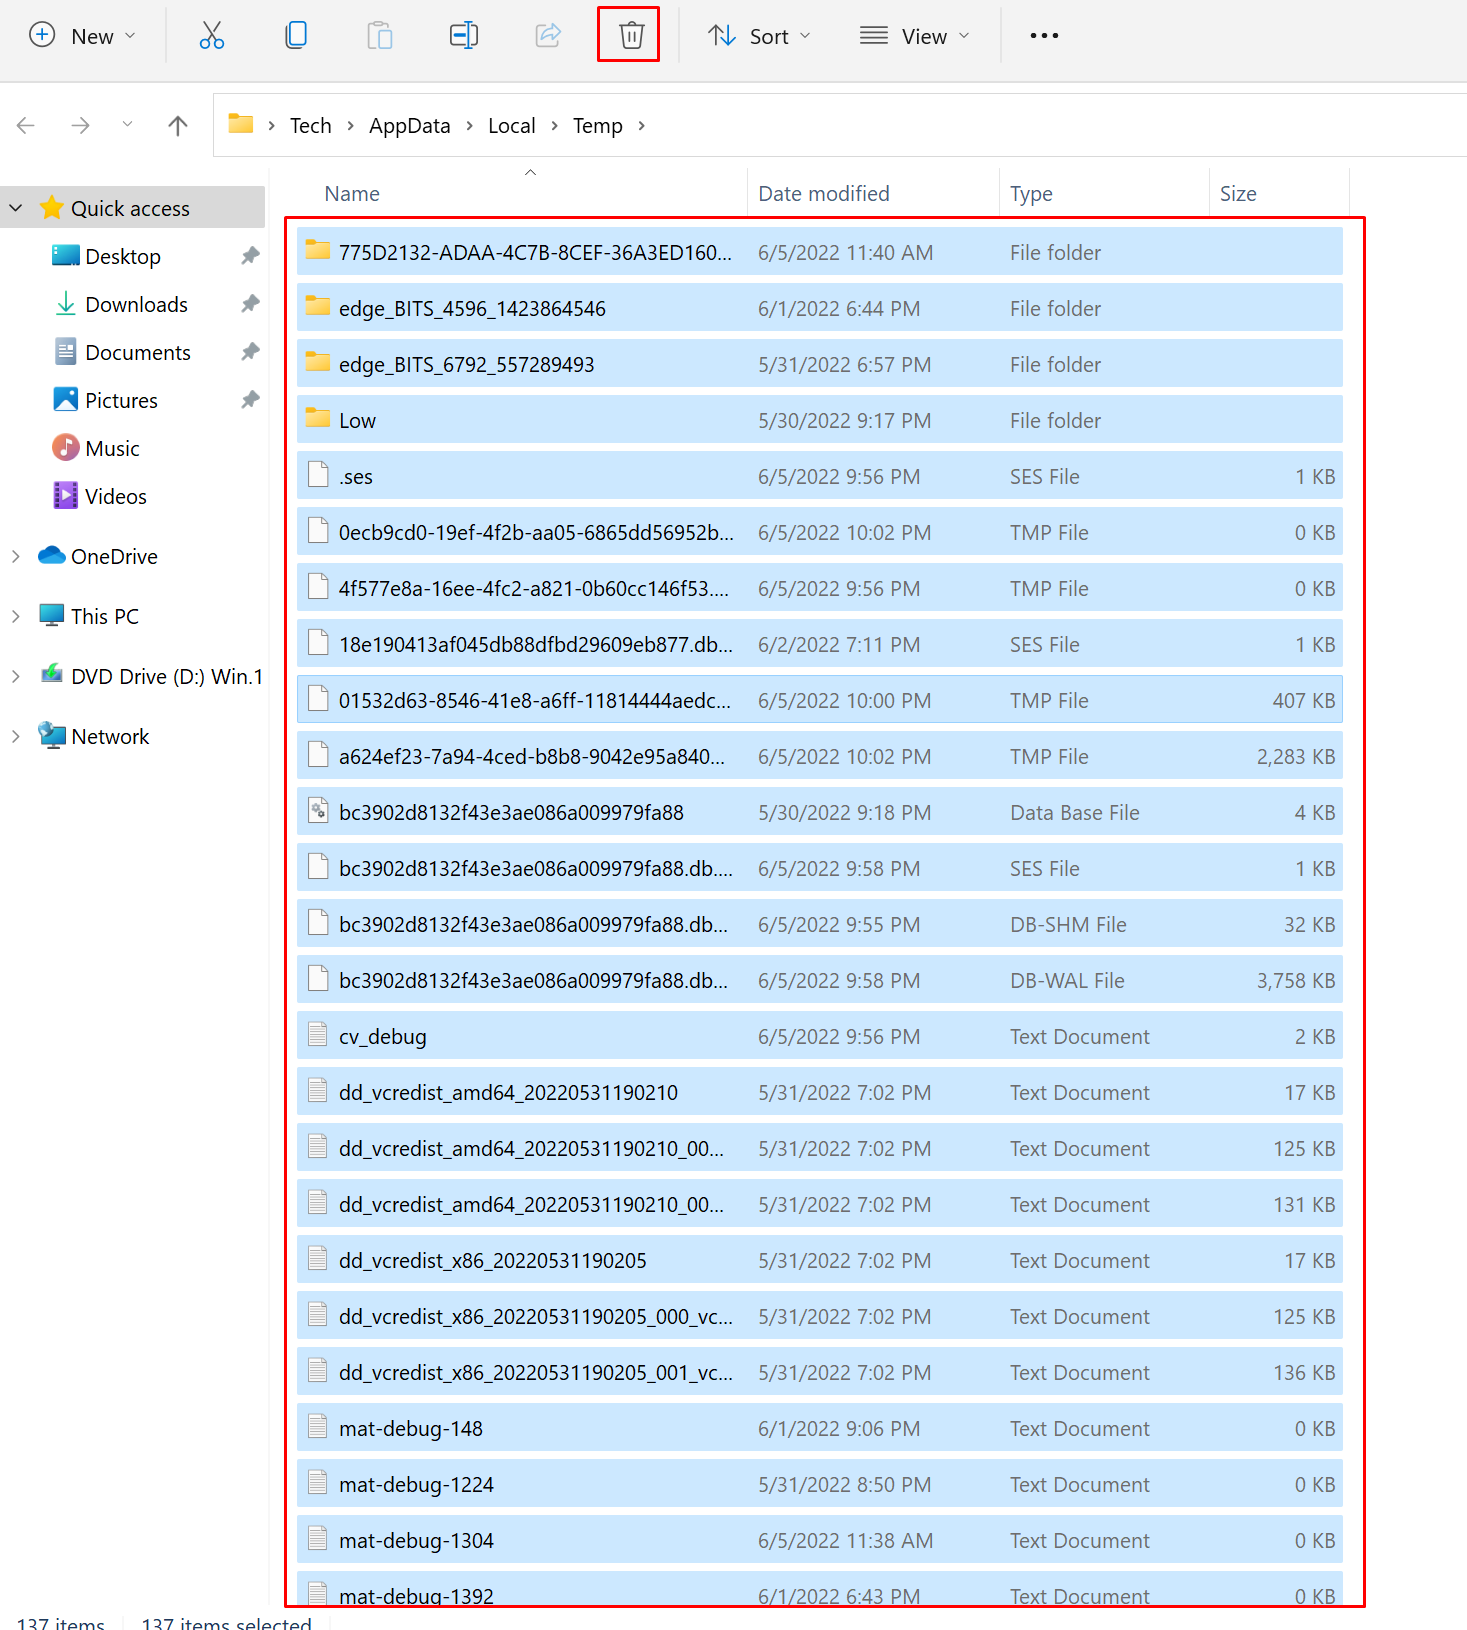
- It will open Temp Folder.
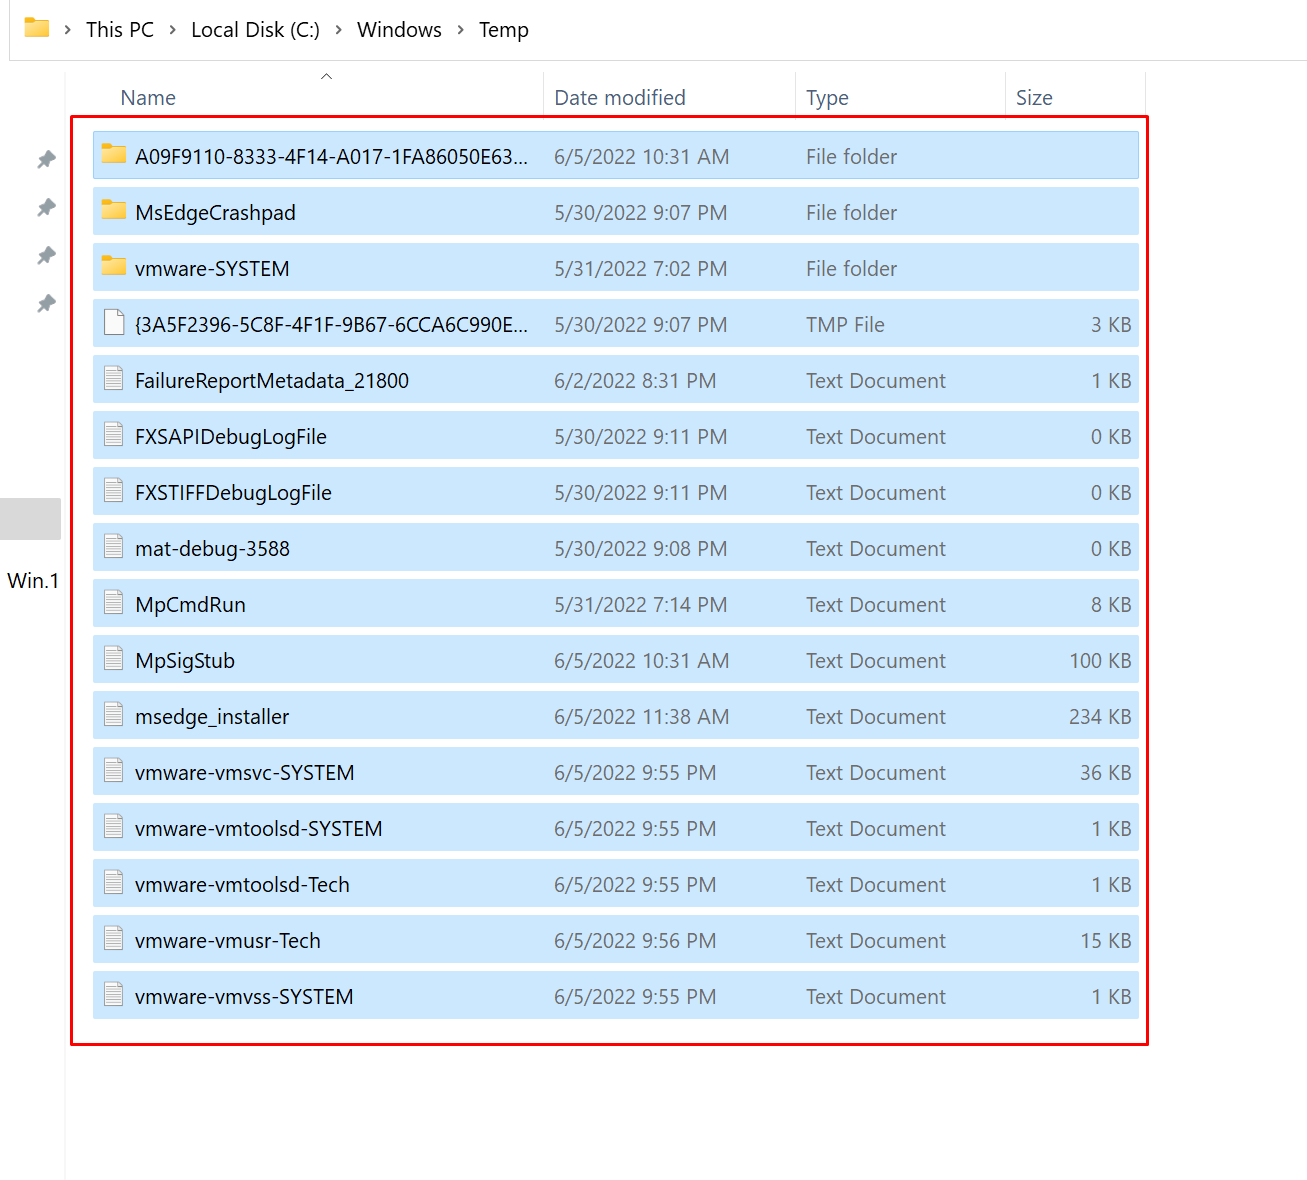
- Now, select all temp files using ctrl + A and then press delete.
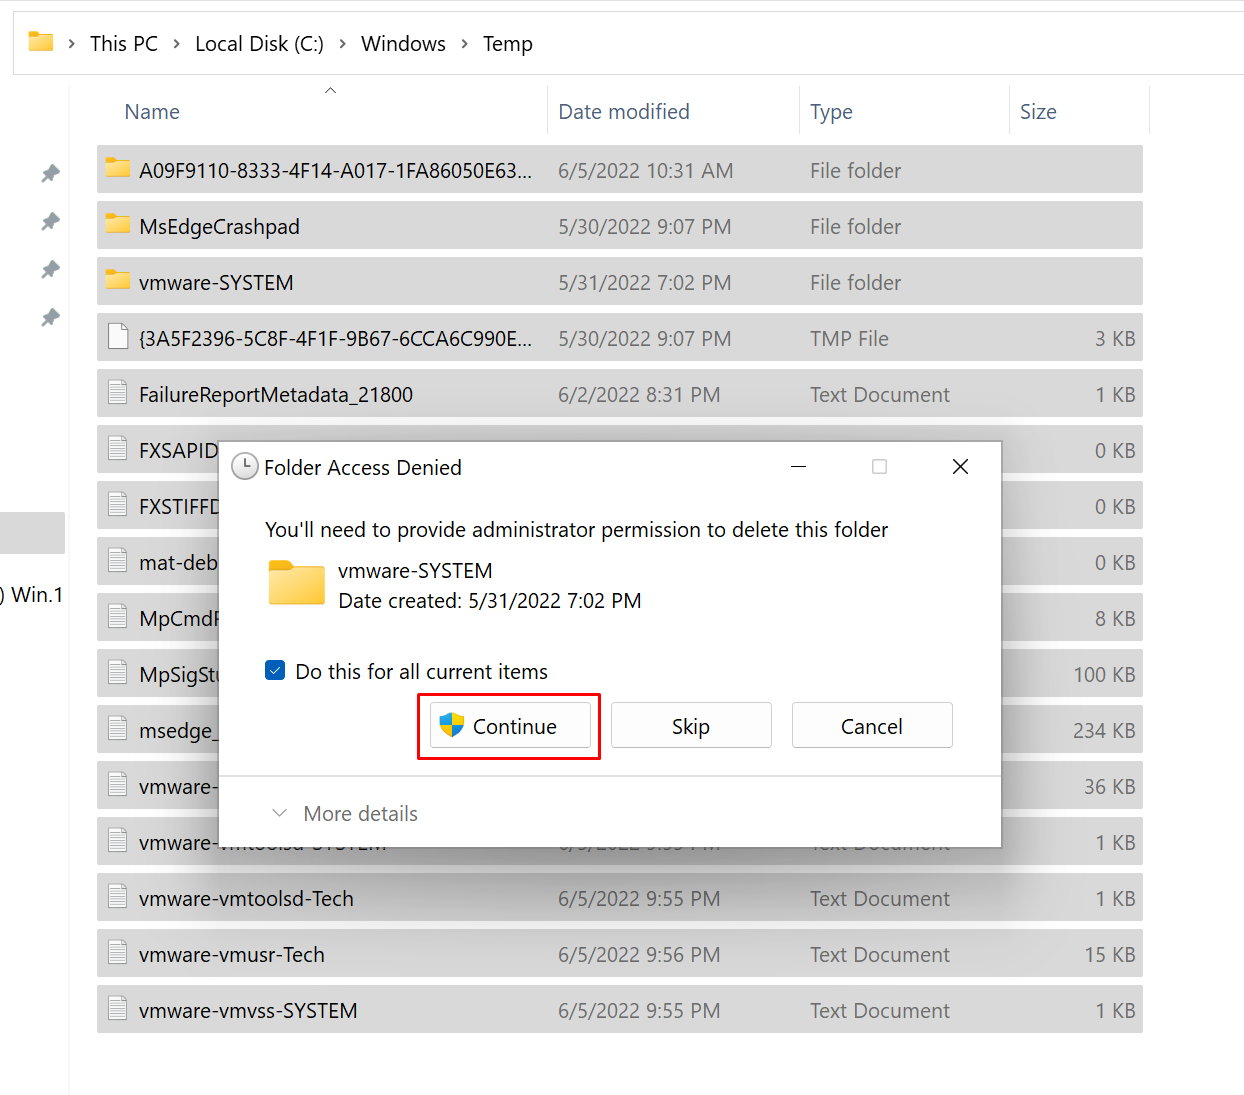
- It will take some time to remove junk files from your PC.
Deleting local temp files Manually
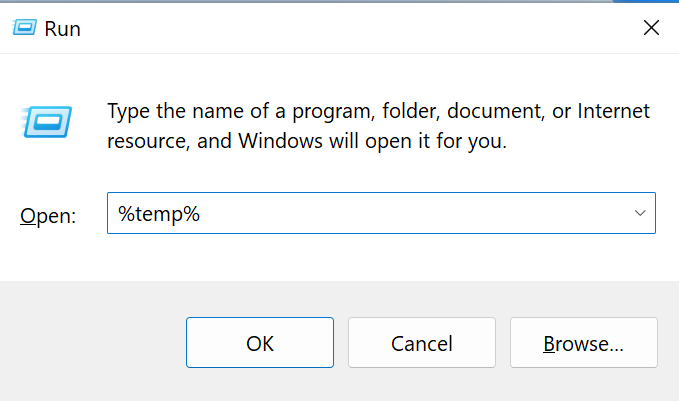
- Press Windows key + R to open the Run command.
- Now type “%temp%” in the search field and press OK.
- after this select all local temp files using ctrl + A and then press delete.
- You need to clear Temp files Regularly.